-40%
Dunlop Crybaby 95Q Wah Pedal Momentary Replacement On-Off Microswitch Repair Kit
$ 5.25
- Description
- Size Guide
Description
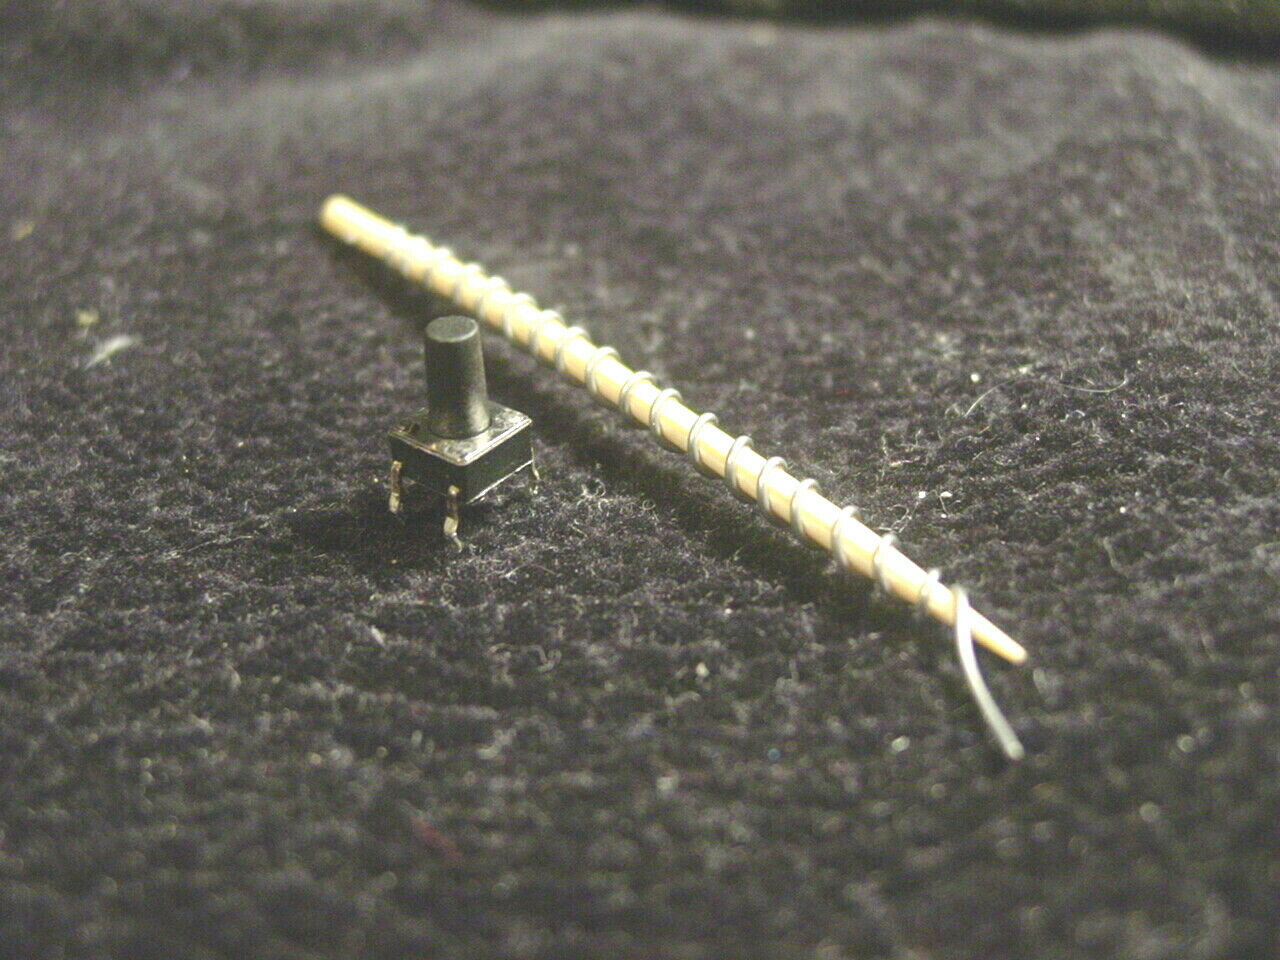
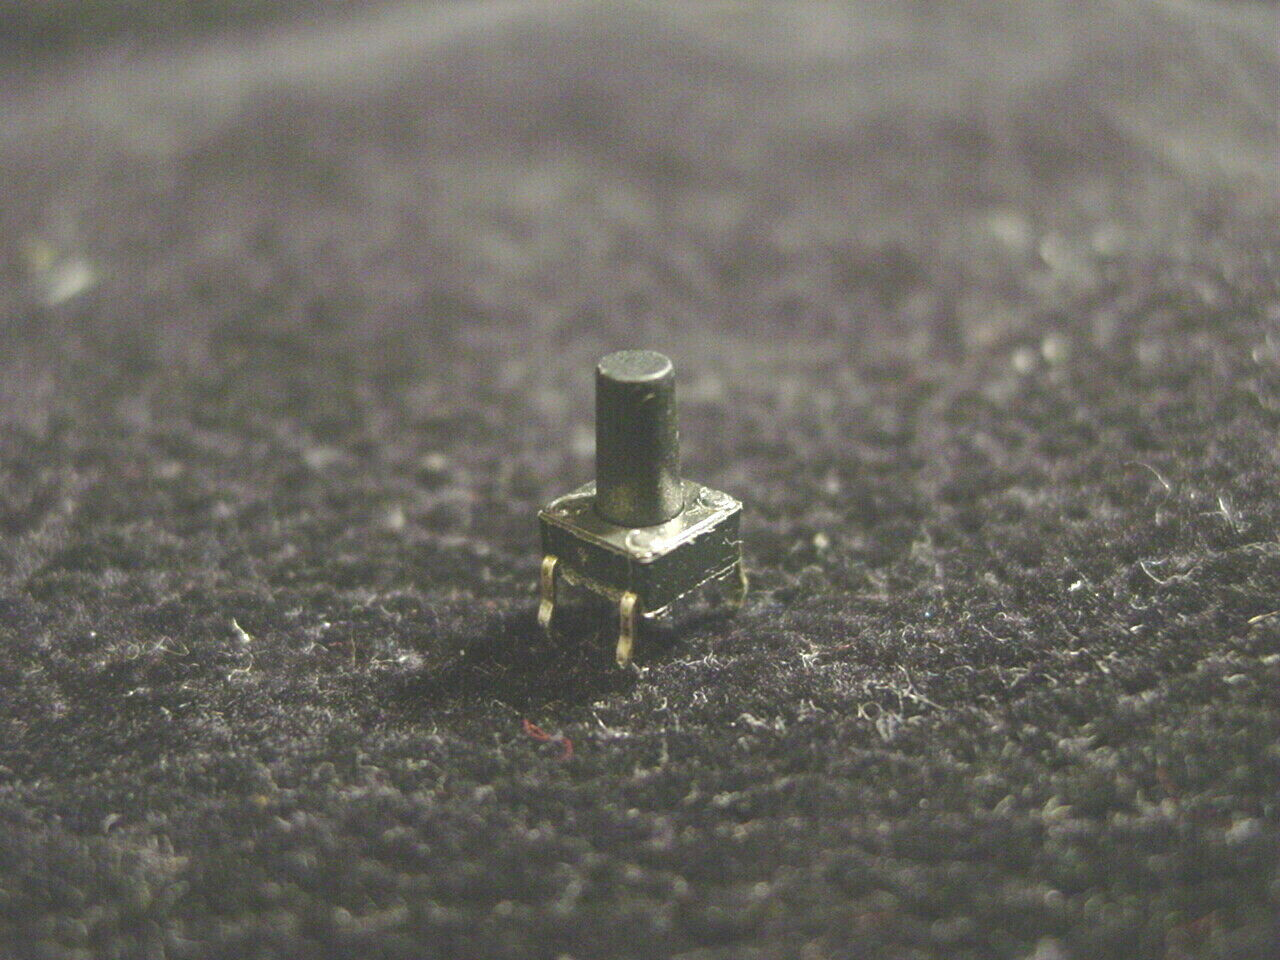
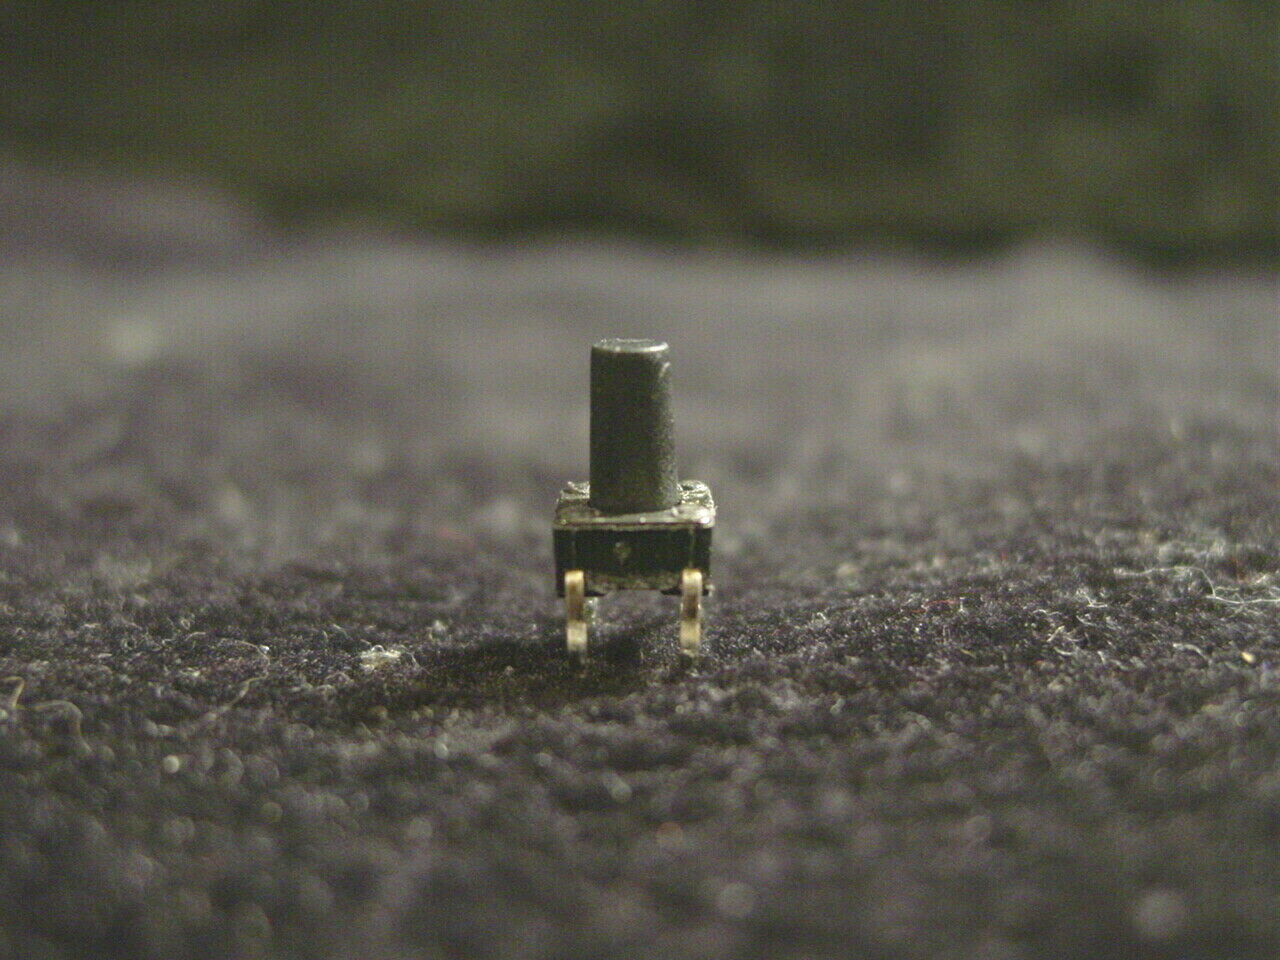
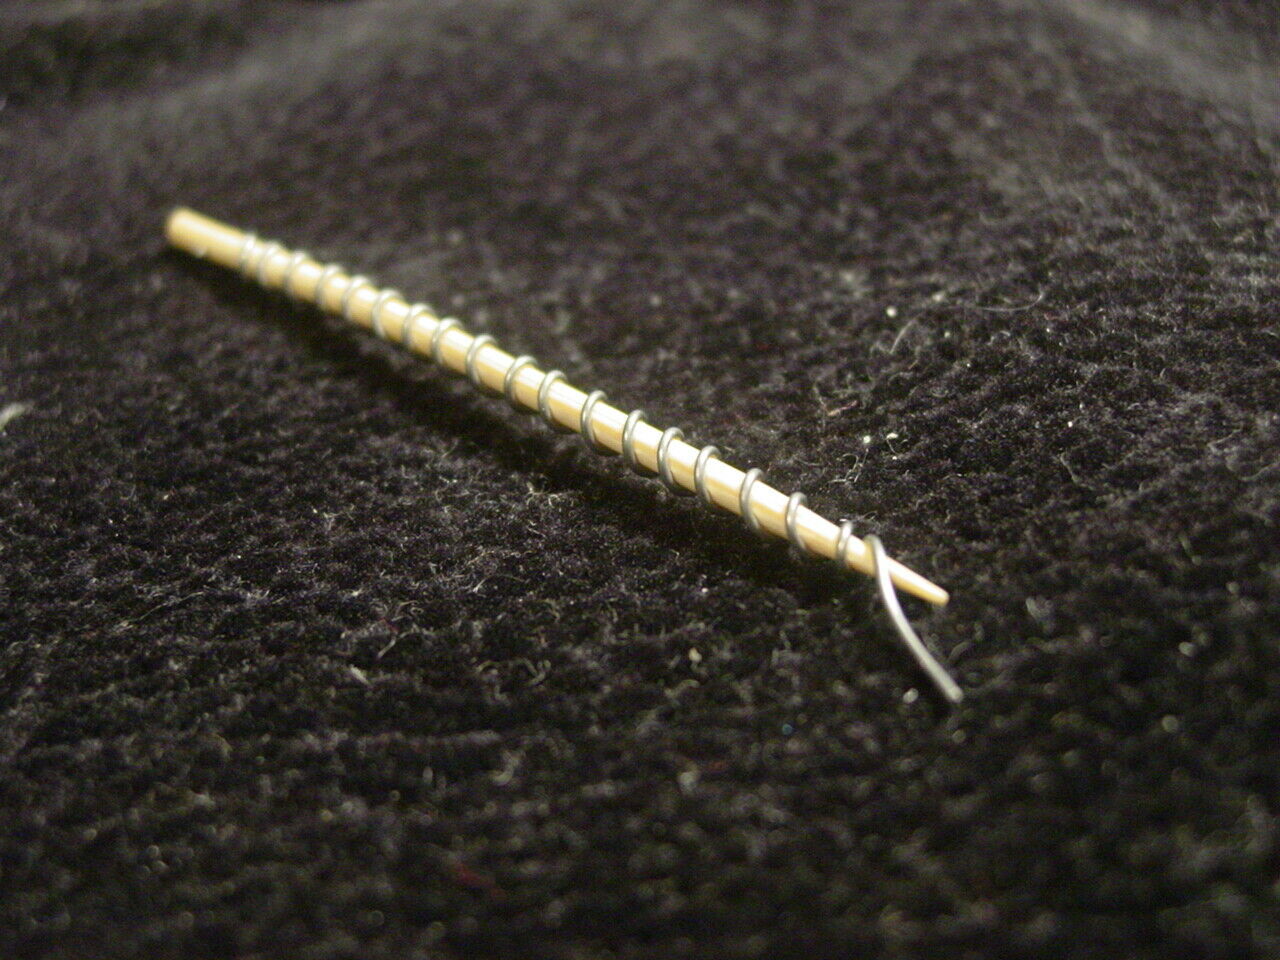
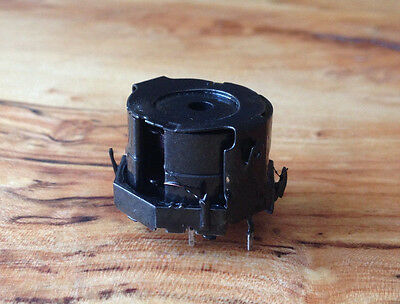
For sale is a Dunlop Crybaby 95Q Wah Pedal Momentary Replacement On-Off Micro Switch Repair Kit. A common issue with the 95Q in which the pedal effect will not turn off and in some cases will not turn on (if the switch is stuck open), can be repaired by replacing this small switch. The repair kit offered includes a replacement microswitch, toothpick and length of solder. The repair does require basic soldering skills and an iron, as well as a Phillips head screwdriver and at least some needle nose pliers to loosen and tighten a few hex nuts. Abbreviated instructions are below. A sufficient soldering iron can be purchased for a few bucks from your local Harbor Freight if you are on a budget and/or do not have a soldering iron. Solder is included, so you will not have to buy an entire spool in the event you do not have solder on hand.Basic instructions:
- Remove four screws on bottom plate of pedal
- Remove two screws holding circuit board to frame
- Loosen and remove hex nuts securing input and output 1/4" jacks
- Pull out red aluminum boost switch finisher from the outside of pedal.
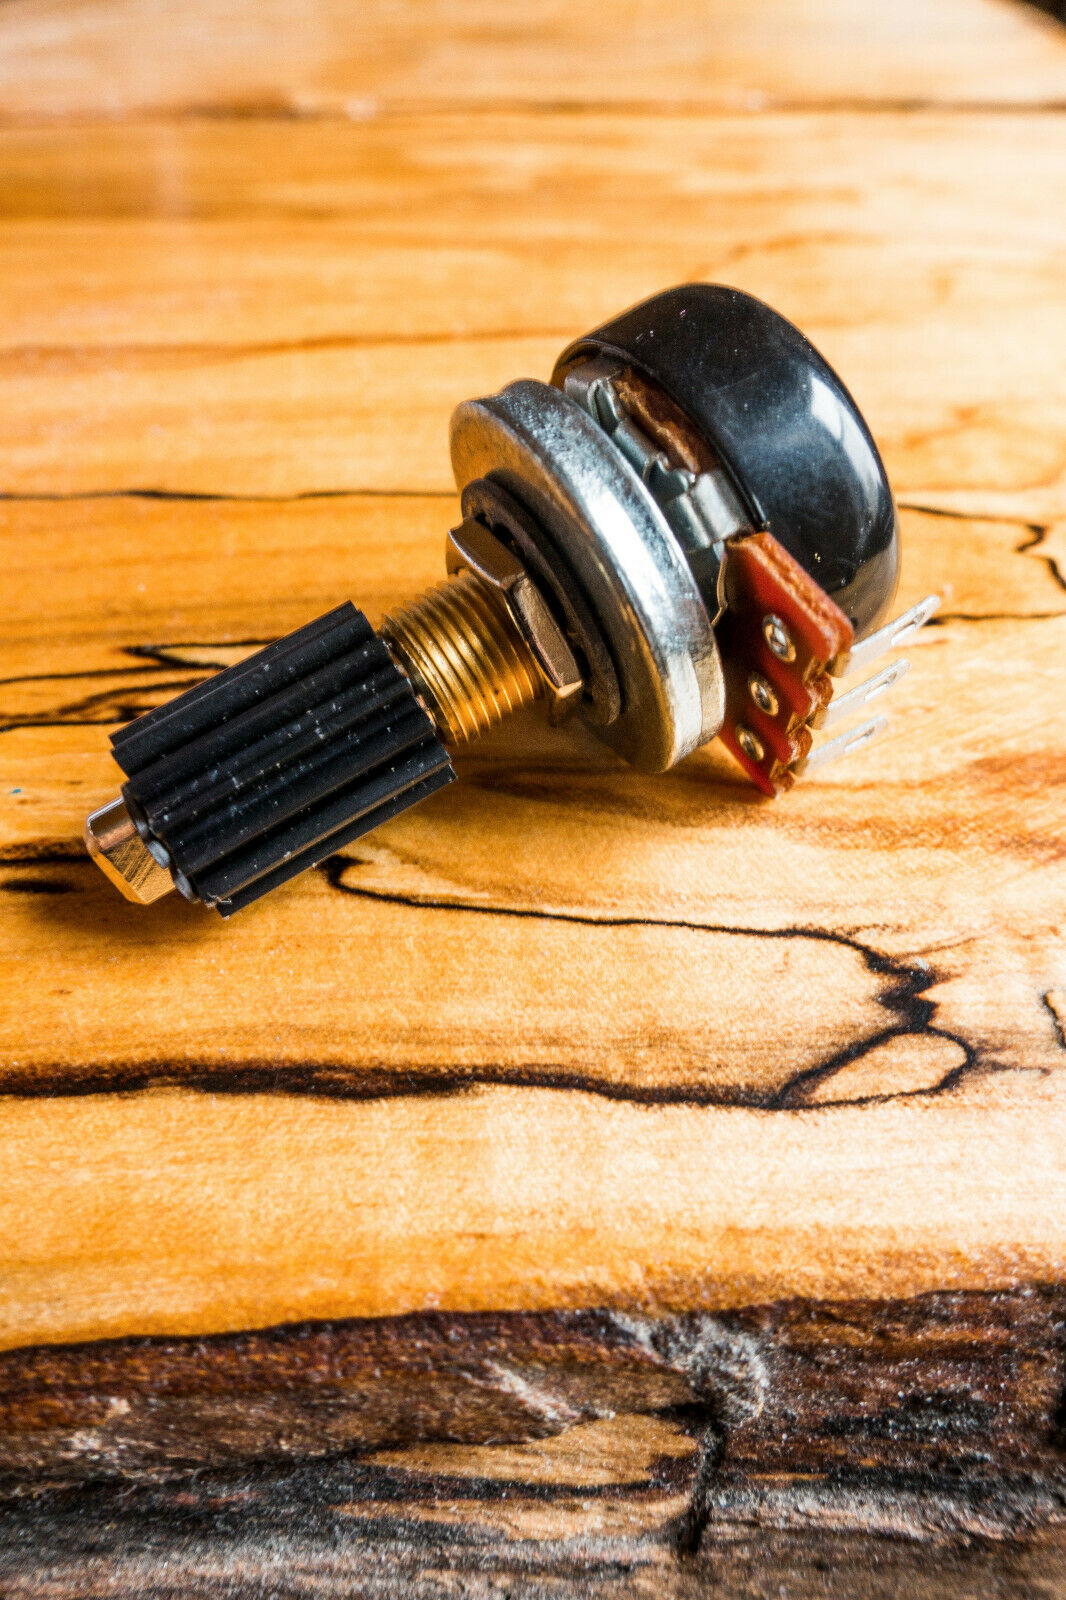
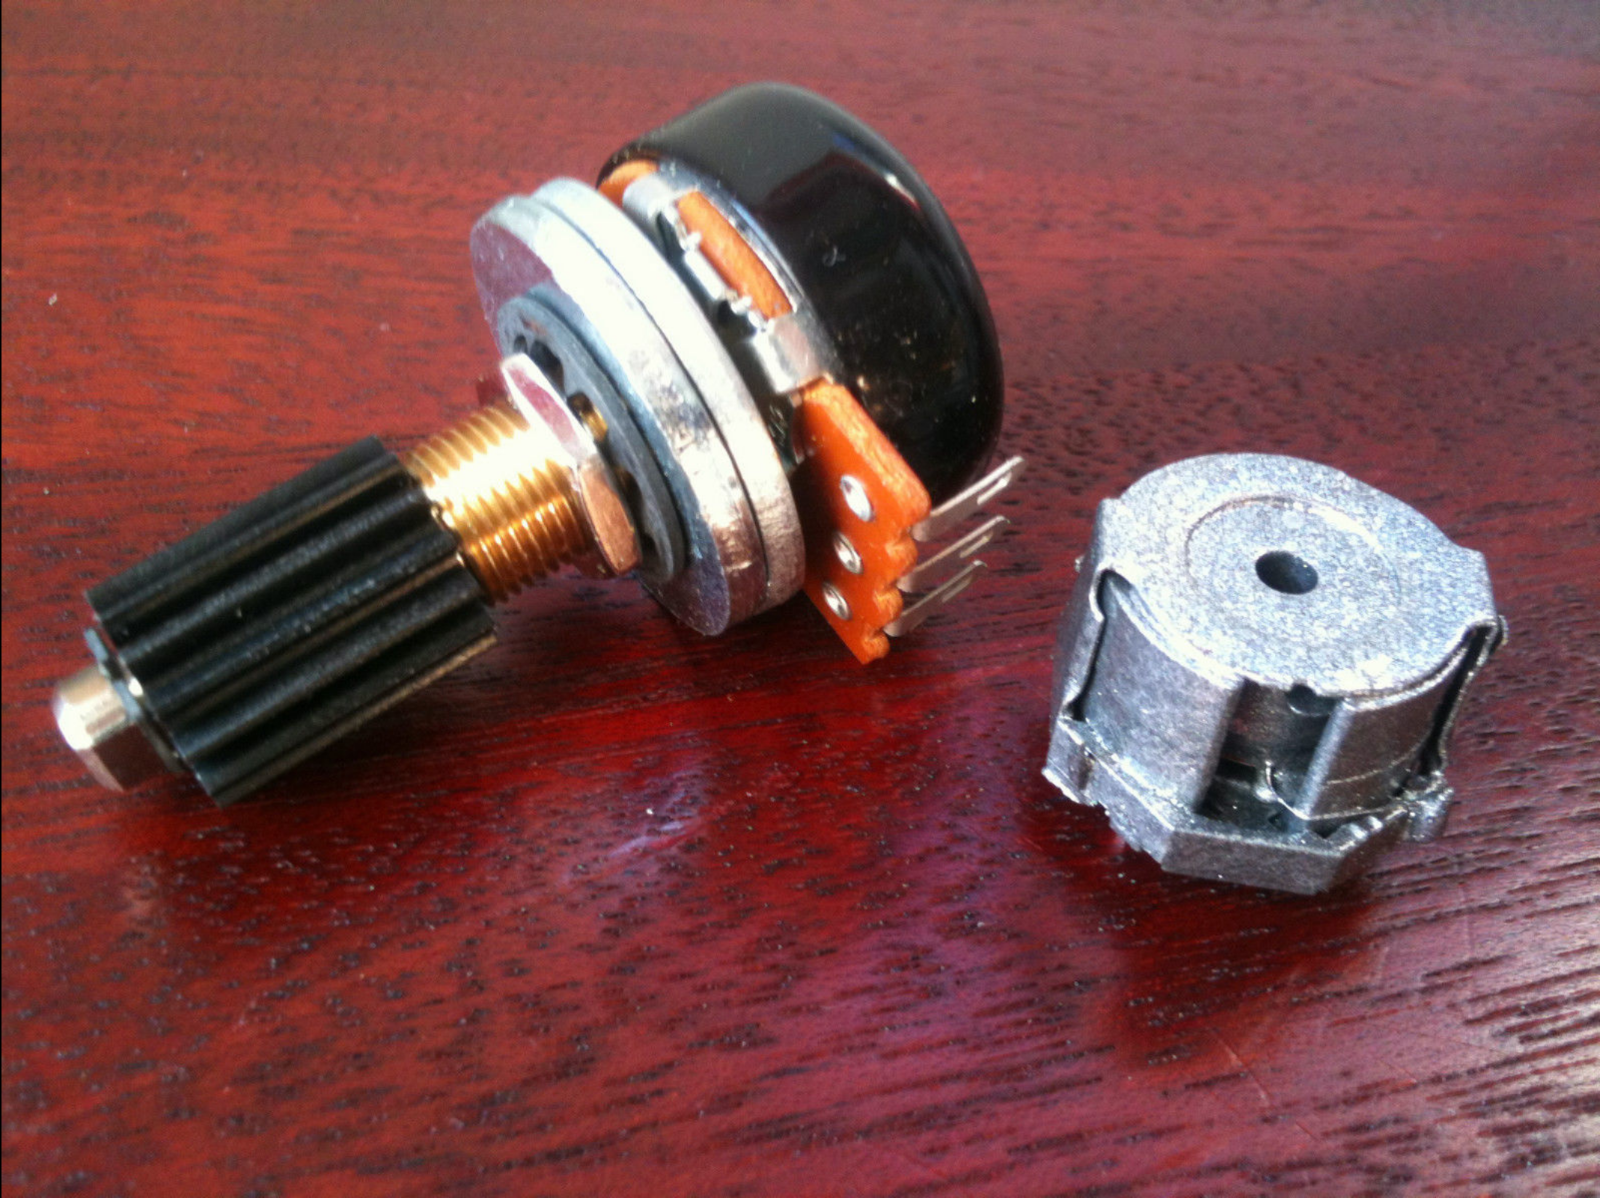
- Make a reference mark on the plastic effect potentiometer gear and pedal rack teeth to retain proper timing during re-assembly.
- Loosen hex nut retainer for potentiometer and gear.
- Remove plastic clip retainer holding pedal rack (straight gear) into position.
- Circuit board can now be wiggled out enough to access the micro switch.
- Heat up two solder joints of original micro switch at a time and angle the switch simultaneously, alternating between pairs of pins until switch is separated from circuit board.
- If excess solder remains and is plugging any of the four holes, heat up the solder, poke the hole with toothpick, while removing the soldering tip, in order to clear the hole.
- Install new switch with the same orientation as the original, apply sufficient solder to each pin.
- Re-assembly is the reverse of disassembly.
After replacing the switch, auto-return on/off function should now be restored to your pedal.
You will receive one switch, toothpick and length of solder per quantity ordered. Additional quantities ship free.
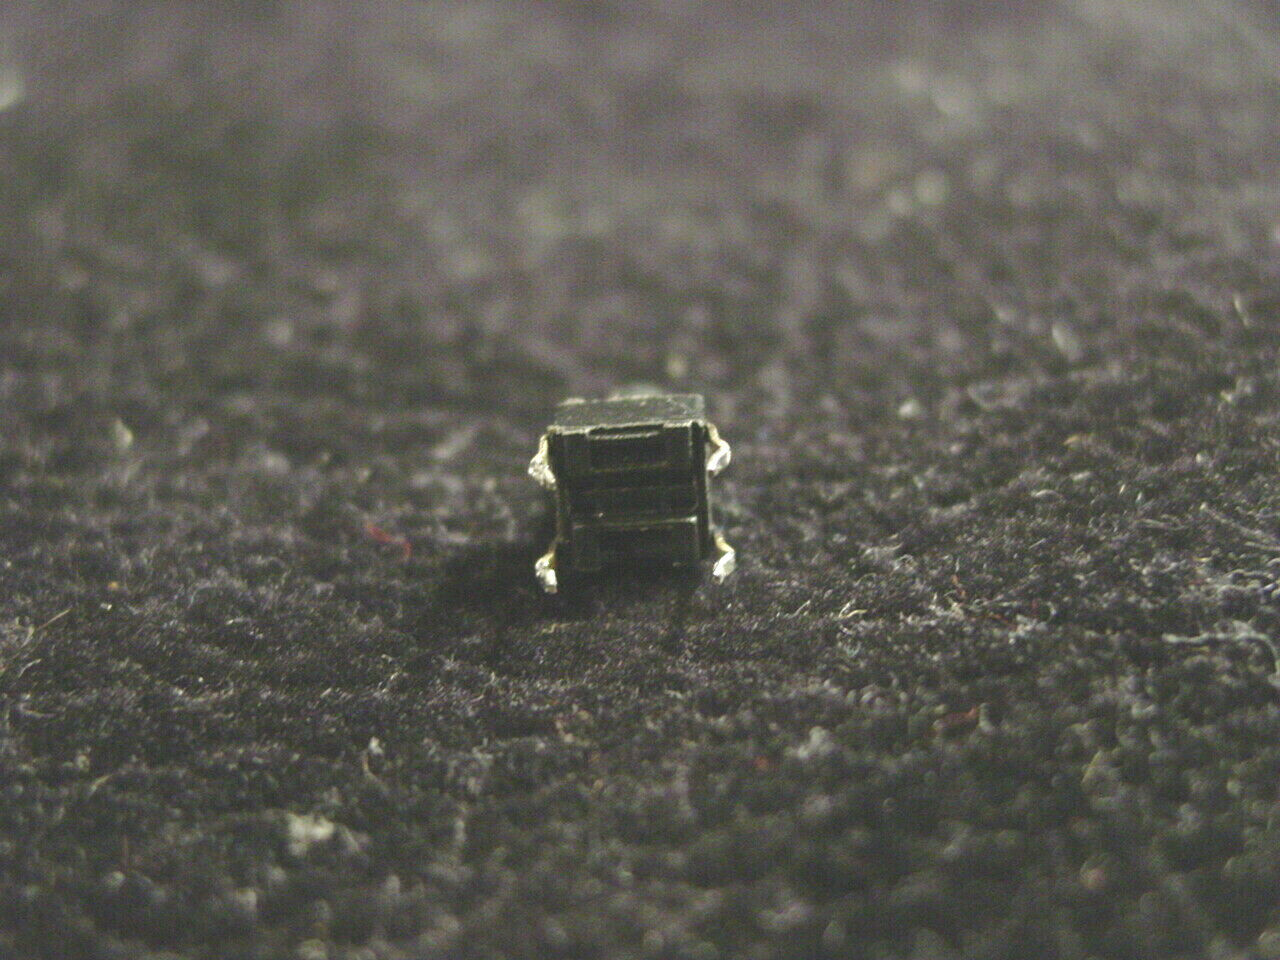
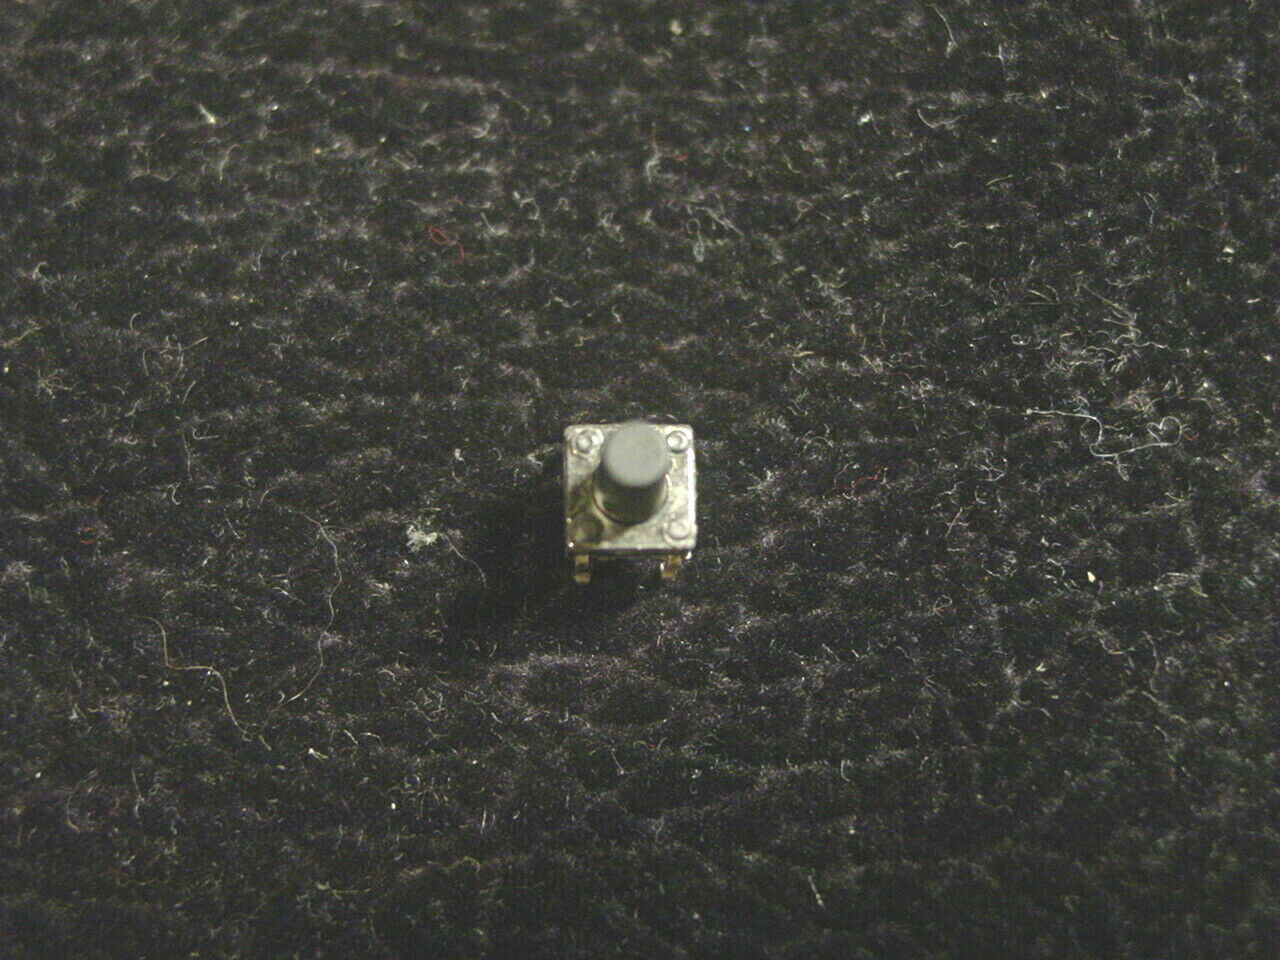
Please refer to image gallery for assessment of the items included.
Ships within 24 hours. Thanks for looking!
